Who needs this tutorial?
If you’re using CaseMail to track and verify your contracts, this is a great tutorial to help you improve your process even further. CaseMail streamlines the latter half of your NDA process, but how are you generating your documents?
If you’re wasting valuable time repeatedly filling in fields with information like names, dates, and company identification details, it’s time to add workflow automation to your business. This tutorial will revitalize how you kick off your NDA process. In just a few short steps, you can transform Formstack Documents into your personal NDA generator.
Before you get started…
- NDA template with merge fields ({$FirstName}, {$DealName}, etc.)
- Formstack account
- NDA data collection form
- Formstack Documents account
- Formstack Documents API/Secret key
3 steps to set it up
Step 1: Create your template
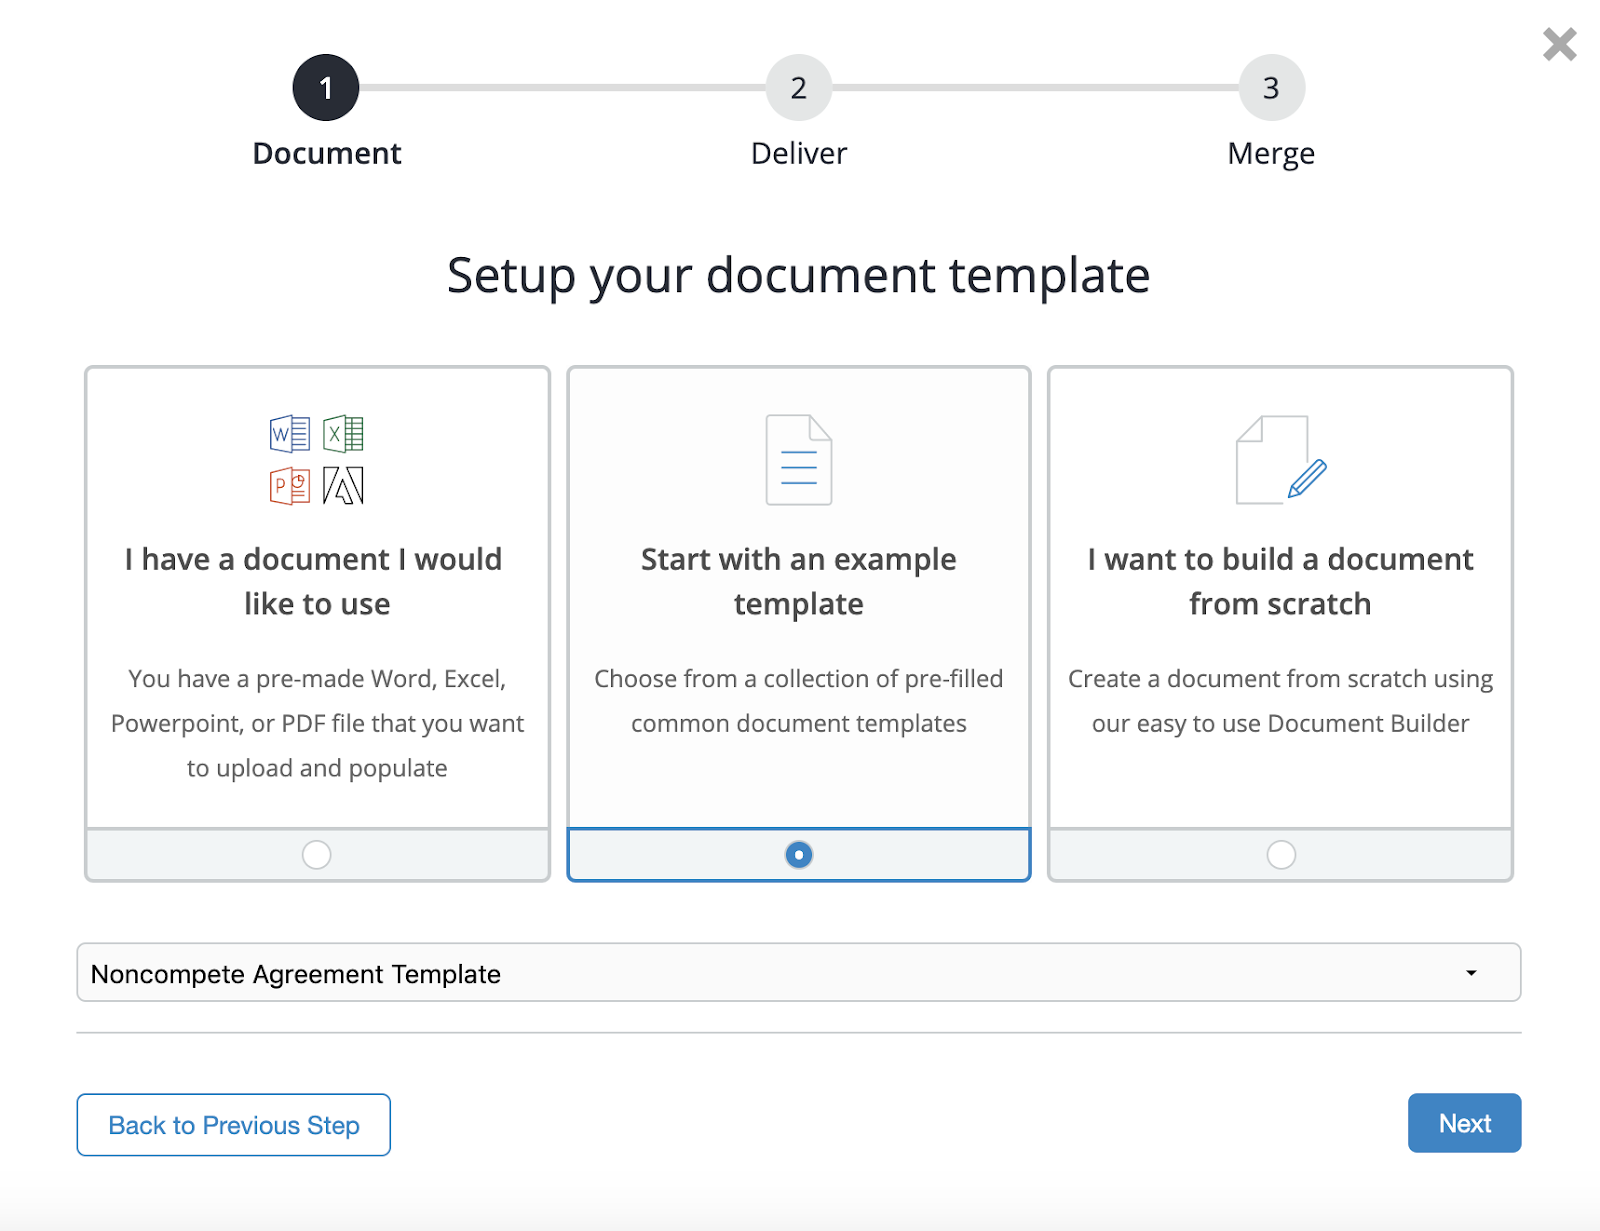
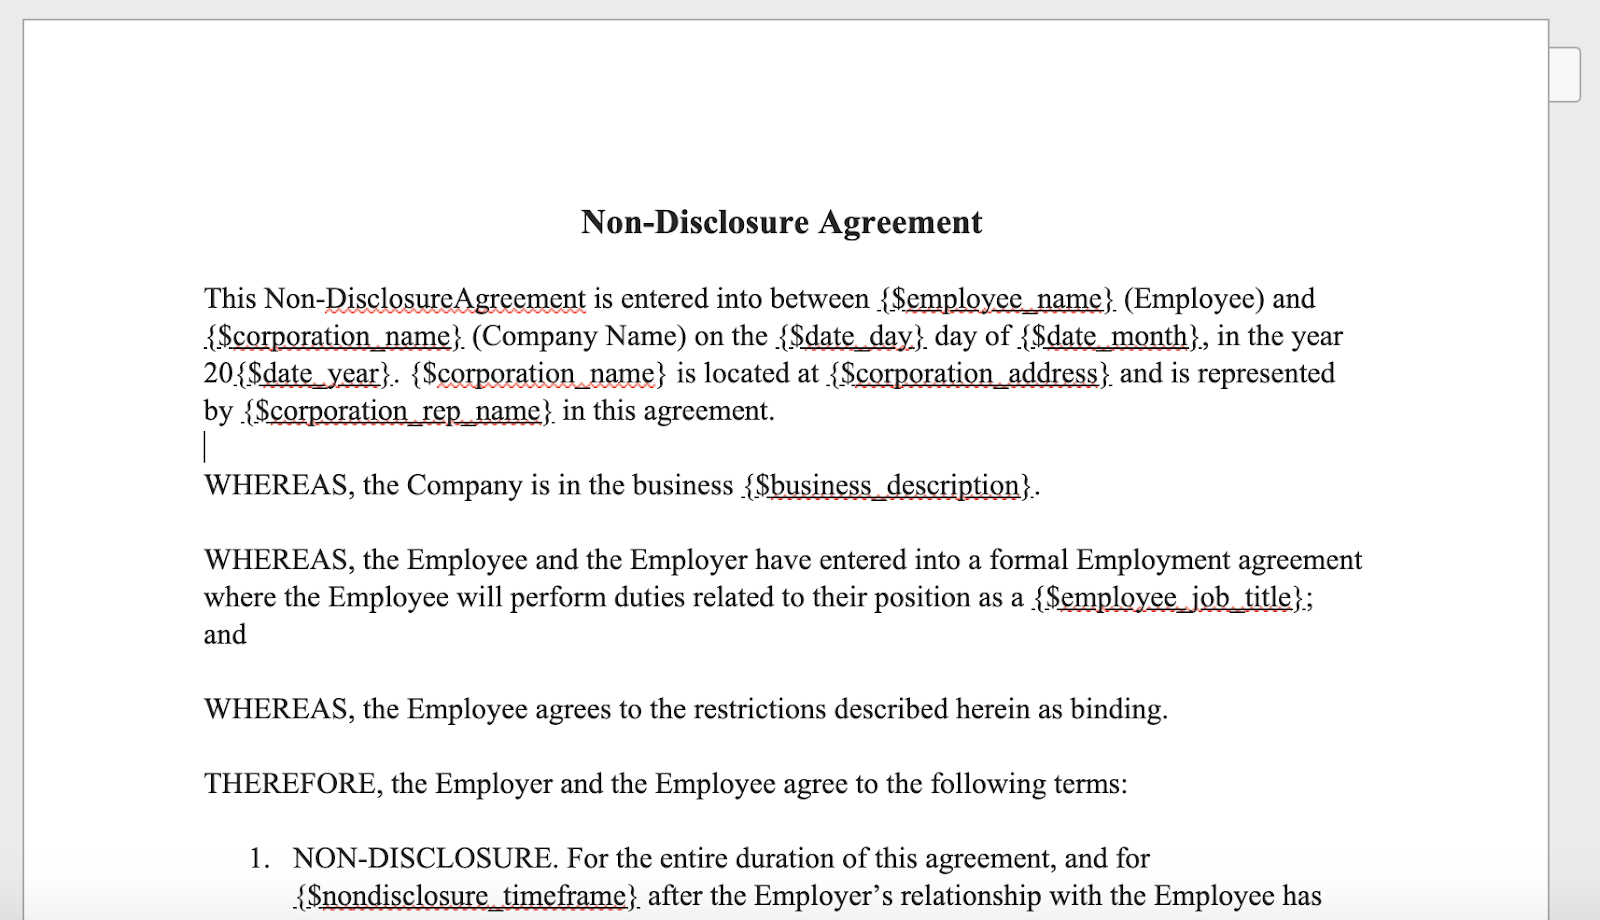
To kick things off, we’re going to set up our NDA template. We’re going to use a pre-built template on the Formstack Documents website. This NDA template file is a word document and already contains the merge fields we need like: {$FirstName}, {$Address}, etc.
Here’s what our NDA template looks like:
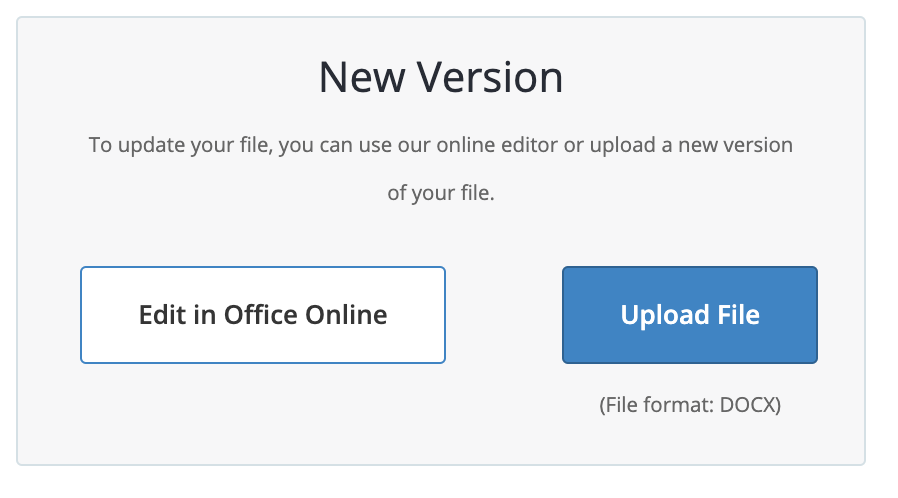
If we decide to make edits to our template, we can use the “Edit in Office Online” feature to update our document.
Step 2: Integrate with Formstack
Before leaving Formstack Documents, grab your Formstack Documents API/Secret Key by navigating to your profile in the upper right hand corner and selecting “API Access.” We’ll need this to integrate with Formstack.
Head into your Formstack account and identify the form you’ll be sending out to signers of your nondisclosure agreement. Select “Settings” from the top navigation bar. Scroll down and select “Integrations” from left hand panel. As a featured integration, you should see Formstack Documents right at the top.
Enter your Formstack Documents API/Secret Key, and Formstack will populate a list of your available documents. Select the document you’d like to integrate with and Formstack will pull in all of the document’s available merge fields. Match your merge fields to your form fields and turn your integration on!

Step 3: Set up CaseMail delivery
Back in Formstack Documents, we’re going to set up the delivery of our document to CaseMail so that once our Formstack form is filled out and populates our Formstack Documents template, the final document will be automatically mailed to our customer. From the Deliver tab, click the New Delivery button and select CaseMail from the list.
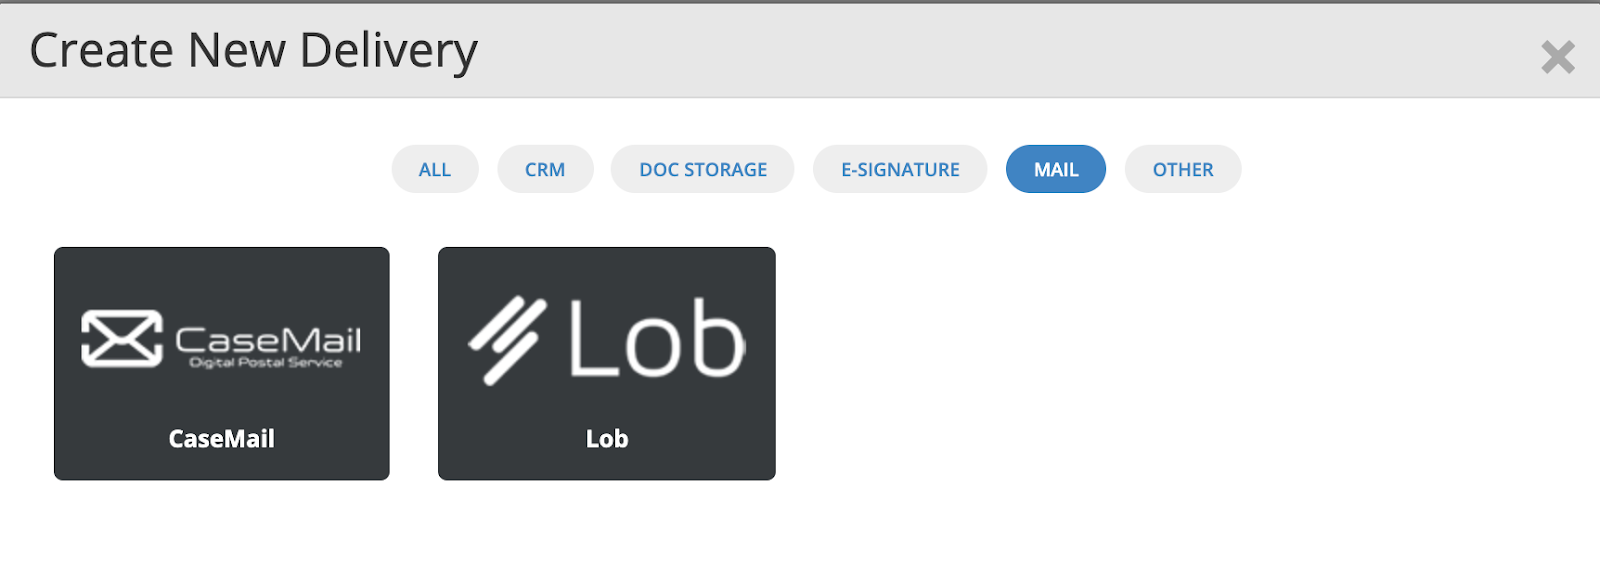
Once you authenticate your CaseMail account, update the “To” and “From” addresses where you want your NDA to be mailed. You can use merge fields to add these addresses from information in your merged document or manually enter the addresses.
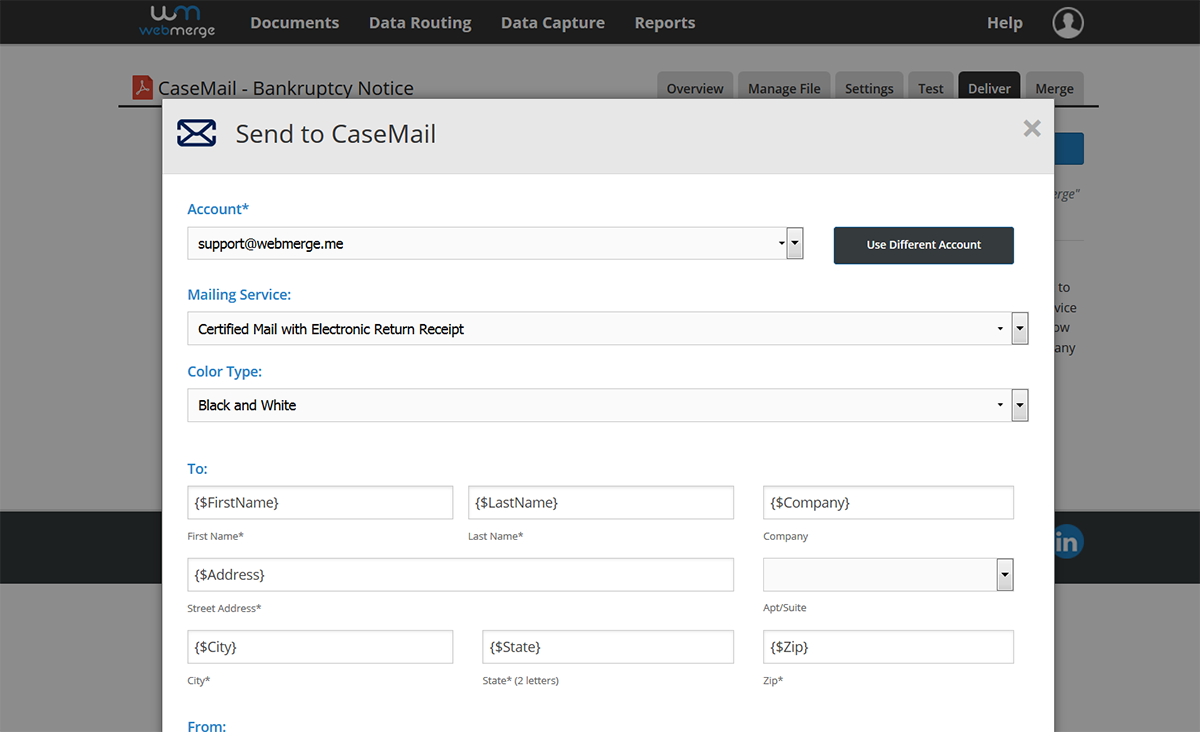
After you’ve saved your CaseMail delivery, we’re done with the setup process and ready to send the notices. For this example, we’re going to show you how to do a batch mailing, but you could also hook your document up to CRMs, billing systems, and more to easily generate documents.
To start our batch, we’re going to go to the Merge tab of our document and select the “Upload Data” option. Here, we’re going to upload a CSV (spreadsheet) of our customer information that we want to merge into our documents.
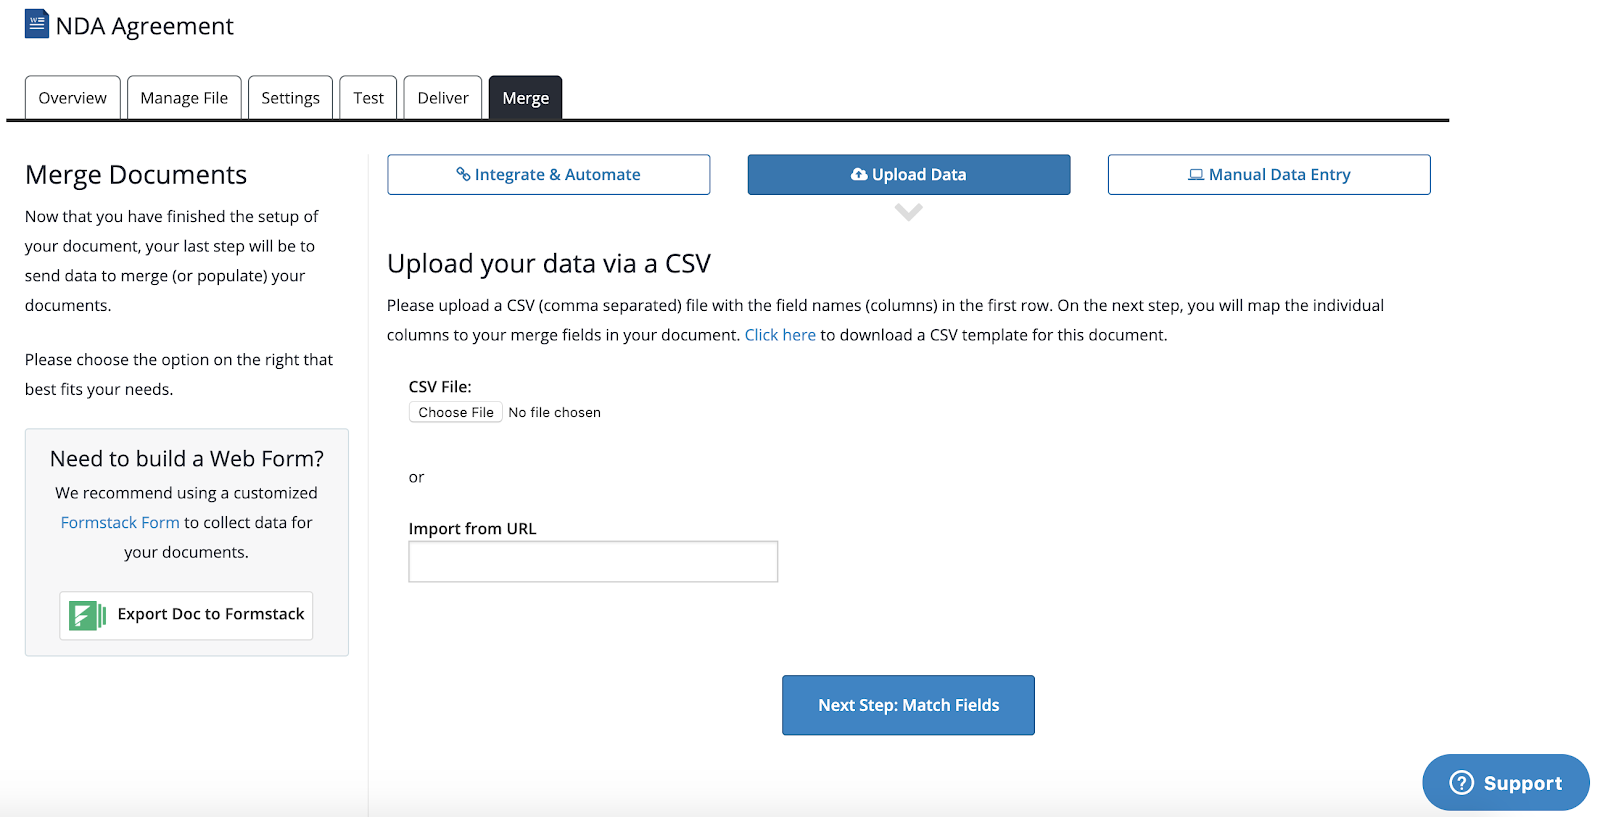
After we uploaded our spreadsheet, we’ll need to match up our merge fields with the columns in our spreadsheet. This will trigger the merge so we can send a large batch of NDAs over to CaseMail for mailing.
This isn’t the only legal process you could revolutionize with Formstack and Formstack Documents. You can follow this process to populate contracts, business letters, wills, notices, and much more! Get started today with a free trial from Formstack Documents. Already a Formstack Documents user, but need access to Formstack? Start a trial.


